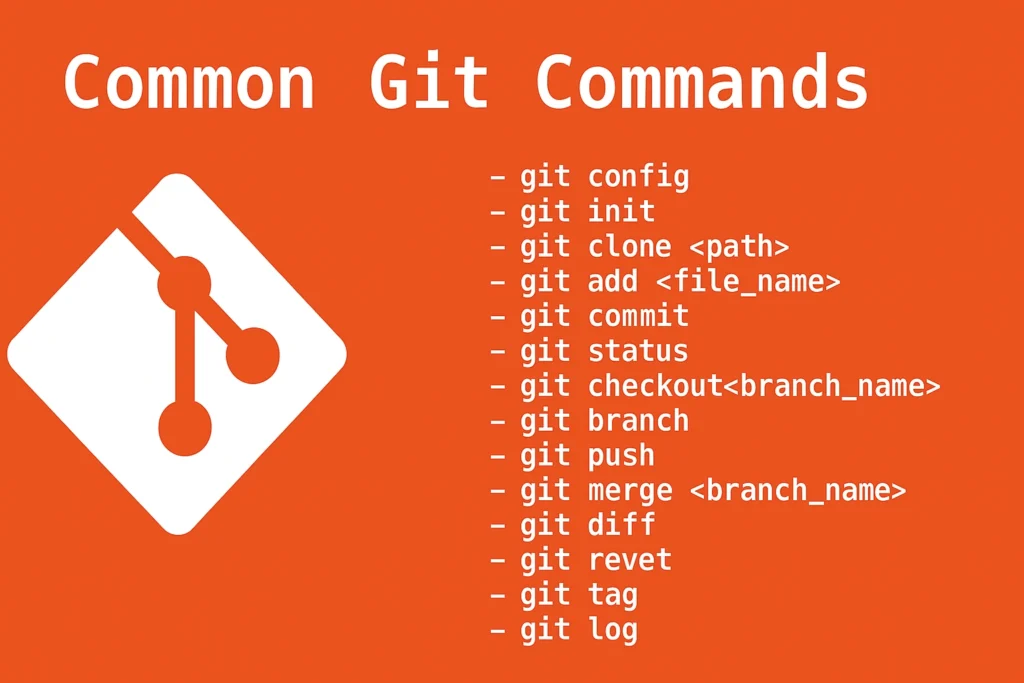
In this article, you’ll learn the key Git commands that every developer should know. With these commands, you’ll easily navigate working with a repository, regardless of its complexity. There’s no need to dive into the entire documentation – mastering just a few basic commands is enough to use Git efficiently and effectively in your daily work.
Configuring Git
Before you start using Git, it’s a good idea to set up a global configuration—most importantly, your name and email, which will be visible with every commit. You only need to do this once (unless you want to change settings for specific projects).
Set your name and email:
git config --global user.name "Your Name"
git config --global user.email "your@email.com"
Check your current configuration:
git config --list
This command helps you verify that everything was saved correctly. If you want to set values for a specific project only, just skip --global and run the command inside the project directory.
Creating or Cloning a Repository
To start working with Git, you need a repository—a space where your files and their change history are stored.
Creating a New Repository
If you’re starting a new project, just go to the project folder and initialize a repository:
git init
This command creates the entire repository structure in a hidden .git folder, allowing Git to start tracking changes.
Cloning an Existing Repository
If the project already exists on a platform like GitHub or GitLab you can download a local copy using:
git clone https://github.com/username/repository-name.gitThis will create a local copy of the repository that you can modify, update, and sync with the remote server.
Basic Workflow: Files and Commits
Once your repository is created or cloned, you can start tracking file changes. Git allows you to stage files step-by-step and then commit them.
Check the Status of Changes
Start by checking which files have been changed or added:
git status
This command shows the current state of the repository, including new files, modified files, and untracked files.
Add Files to the Staging Area
To prepare a file for committing, add it to the staging area:
git add filename
Or add all changed files at once:
git add .
Creating a Commit
Once your files are staged, commit them with a message describing the changes:
git commit -m "Description of changes"
A good commit message should be short but clear—so others (and future you) know exactly what changed.
Push Local Changes to Remote
To send your commits to the remote repository:
git push -u origin main
-u sets the default upstream branch, so in the future, you can just use:
git push origin mainPull Changes from Remote
If someone else made changes online, you can fetch and merge them with:
git pull
Check Connected Remote Repositories
git remote -v
Working with Branches
Branches let you work on new features or fixes without immediately affecting the main codebase. This way, you can test changes without breaking the working version of the project.
Check Current Branch
git branchShows all available branches and highlights the one you’re currently on.
Create a New Branch
git branch feature-nameThis creates a new branch but doesn’t switch to it.
Switch to a Different Branch
git checkout feature-nameFrom now on, all changes will be saved in the context of the new branch.
Create and Switch in One Command
git checkout -b feature-nameMerge Branches
When you’re done working on a feature, merge it into the main branch:
git checkout main
git merge feature-name
Delete a Branch
Once merged, you can delete the branch:
git branch -d feature-name
Working with a Remote Repository
A remote repository is a version of your project stored online (e.g., on GitHub). Git makes it easy to sync changes between your local and remote copies.
Add a Remote Repository
If you connected your local project to a platform like GitHub, you need to add a remote:
git remote add origin https://github.com/username/repository-name.gitViewing the Commit History
Git keeps a full history of all commits, which you can browse and analyze.
Basic Commit History
git logShows commit hash, author, date, and message.
Short Summary View
git log --onelineEach commit is shown in one line—great for quick overviews.
Visual Graph of History and Branches
git log --oneline --graph --allDisplays branching and merging history in a clear, visual way.
Comparing Changes Between Commits or Files
To see what changed between versions or files:
git diff
Shows differences between working files and the last commit.
Compare two branches:
git diff main feature-name
Undoing and Reverting Changes
Everyone makes mistakes. Luckily, Git offers several ways to undo changes without losing your work.
Changed a File, but Didn’t Run git add
To discard changes and revert to the last committed version:
git restore filename
Added a File to Staging, but Not Yet Committed
To unstage the file but keep the changes:
git reset filename
Committed, but Want to Undo It
To undo the commit but keep the changes:
git reset --soft HEAD~1
To undo the commit and discard the changes:
git reset --hard HEAD~1⚠️ Warning: This removes all changes with no way to recover them.
Save Changes for Later
Don’t want to commit yet, but also don’t want to lose changes? Use stash:
git stash
To apply them back later:
git stash pop